


How to Prevent Bubbling When Thermoforming Composite Plastic Sheets
 Oct 24, 2026|
 View:1
Prevention is a chain, not a single setting. Material, storage, drying, heating, vacuum or pressure, and cooling all play a part. A high-purity composite plastic sheet with uniform structure removes one major variable from that chain.
You can use the checks in this article on your shop floor today. Each step is practical, and each one targets moisture or heat.
Key Takeaways
Pick composite plastic sheets that are very pure and soak up little moisture. This lowers the chance of bubbling.
Keep sheets in sealed packages with desiccant to block moisture and stop hidden defects.
Make sure the sheets are completely dry before you heat them. Check the moisture level with a meter or a test.
Heat the sheets evenly by using zone controls and a slow ramp rate to avoid hot spots.
Let trapped air out and cool the sheet under pressure. This holds the shape and stops bubbles from forming.
Select and Store Quality Sheets
Pick High-Purity ABS Sheet and PMMA/ABS Sheet
Your scrap rate starts with the sheet you load. High-grade material with an even structure heats evenly and resists bubbling and bulging. Low moisture absorption matters just as much, because absorbed water turns to steam during heating and pushes blisters to the surface.
XinhejiuABS Sheet fits general thermoforming work well. It uses 100% virgin resin and shows very little moisture absorption, so surface bubbling during heating stays under control. XinhejiuPMMA/ABS (Acrylic ABS) Sheet suits parts that need a glossy, scratch-resistant face. A co-extruded PMMA cap sits over a tough ABS core, and the sheet offers excellent melt fluidity for vacuum forming. Both options give you a clean, consistent starting point. Other qualified sheets can also perform, so match the grade to your part geometry and surface requirements.
Store Sheets to Block Moisture
ABS is sensitive to humidity. Longer exposure raises moisture content, and unsealed packaging can push a sheet to problematic moisture levels within a short time. Poor storage management is a major source of hidden defects. Humid storage degrades the material, and trapped vapor causes flow marks and steam bubbles during molding.
PMMA shows the scale of the risk. At 23°C and 50% RH, it absorbs roughly 0.3–0.4 wt% moisture, which drives up to 0.2% linear expansion and depresses Tg by 5–10°C. A PMMA/MABS blend at 60/40 wt% absorbs about 0.22 wt%. Precision work calls for storage below 30% RH.
Follow these storage rules:
Keep sheets in sealed wrapping with desiccant.
Stack sheets flat on pallets, never on humid floors.
Move opened sheets into dry cabinets or sealed bins.
Control static, which attracts dust and contaminates surfaces.
Dry Composite Plastic Sheets Before Heating
Drying is the step most shops skip when schedules get tight. It is also the step that removes the water behind most blisters. A sheet can look and feel dry on the outside and still hold enough absorbed moisture to bubble as soon as it enters the oven. Heat turns that water into vapor, and the vapor has nowhere to go except through the softened sheet. Polycarbonate shows this pattern clearly: dry PC sheet before forming, or you get bubbles and splay across the part surface.
Follow Manufacturer Pre-Dry Instructions
Start with the datasheet for your specific grade, not a generic oven setting. Resin suppliers publish drying temperatures and times for their material, and those numbers account for how the polymer behaves. Treat them as your baseline.
Thickness drives drying time. Water moves through a sheet by diffusion, and diffusion is slow. A thin sheet reaches a dry state in a fraction of the time a thick sheet needs. As a rule, extend the cycle as gauge increases, and never shorten it to catch up on output. Temperature matters too. Set the dryer high enough to drive moisture out, yet low enough to avoid softening or stress buildup in the stack.
Use a proper desiccant dryer for demanding work. Monitor the dew point of the supply air, because wet air undoes a long drying cycle. Load sheets so air flows across both faces, and avoid dense stacks that trap moisture in the middle. A high-purity composite plastic sheet with consistent structure dries predictably, which makes your cycle easier to lock in.
Verify Moisture Before Forming
Do not trust the clock alone. Verify the sheet is actually dry before it reaches the oven.
Check moisture content with a meter or a gravimetric test on a sample from the batch.
Confirm the dryer hit its setpoint and held it for the full cycle.
Inspect sheets for surface haze, which can signal absorbed water.
Log the results, so a bubble defect later traces back to a known starting condition.
Run a small trial part when you change suppliers, grades, or thickness. A short test form reveals moisture problems before a full production run does. If bubbles appear, extend the drying cycle or raise the temperature within the grade's limits, then retest. This verification loop turns drying from a guess into a controlled variable, and it protects every downstream step in your process.
Dial In Uniform Heating
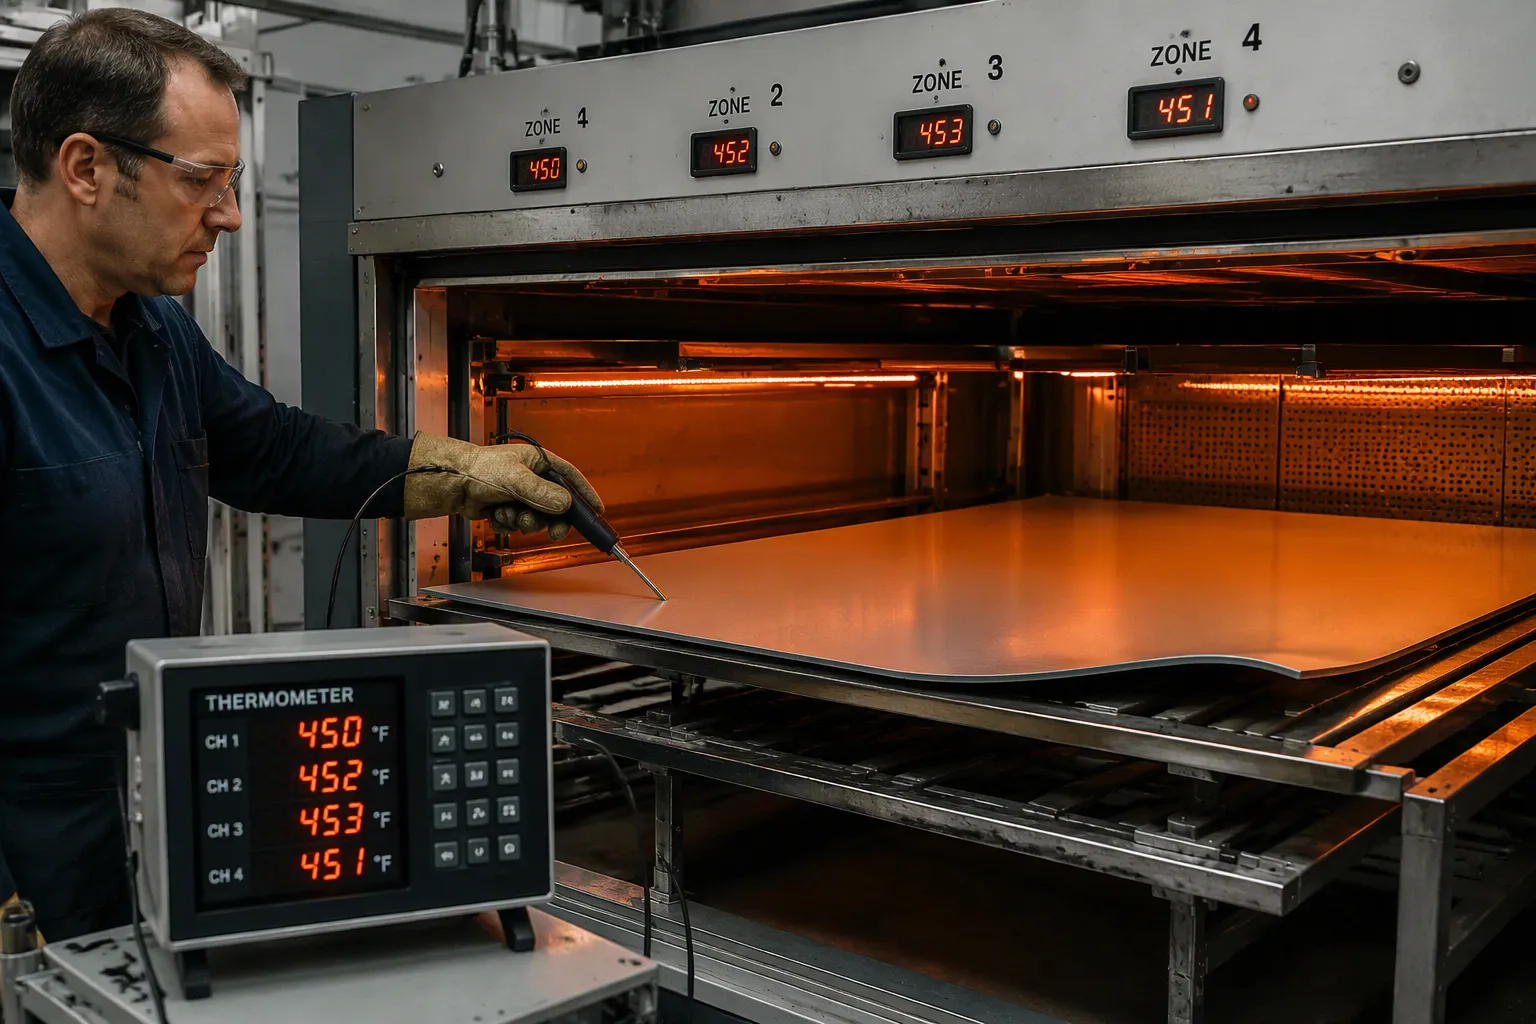
Heat is the other half of the bubbling problem. A dry sheet still blisters if the oven delivers uneven energy. Hot spots boil off residual volatiles in one area while the rest of the sheet is still warming. Reliable temperature control protects dimensional accuracy and minimizes thinning, bubbles, and incomplete mold filling. Treat the oven as a controlled instrument, not a warm box.
Match Heat Zones to Sheet Geometry
Most thermoforming ovens divide into zones you can set independently. Use that control. Map each zone to the part of the sheet it actually faces. Edges lose heat to the frame and the surrounding air, so they often need more energy than the center. Corners lose heat on two sides at once. A sheet with thick and thin sections needs more heat over the thick area, because that mass takes longer to reach forming temperature.
Watch for sag as the sheet softens. Uneven heating shows up first as a droop on one side. Correct the zone before you form, not after. Run a heat-map test with a surface probe across a scrap sheet, and record the readings zone by zone. Repeat the test after any heater change.
Material consistency supports this work. A high-purity composite plastic sheet with no impurities heats at a steady, predictable rate across its full area. Xinhejiu sheets use clean, uniform resin, so energy spreads evenly and the risk of localized bubbles drops. You spend less time chasing zone offsets and more time running good parts.
Control Ramp Rate and Forming Window
Ramp rate decides how the sheet crosses its forming window. Push the heaters hard and the surface reaches temperature long before the core does. The skin softens, the core stays stiff, and the sheet forms with stress and thin walls. Raise the temperature in steps, then hold a short soak so the whole thickness equalizes.
The forming window is the band between soft enough to shape and hot enough to sag or degrade. Form in the middle of that band. A sheet formed too cool resists the mold and thins at corners. A sheet formed too hot sags, marks, and traps gas. Log the oven setpoints and the actual sheet temperature for every run, so a bubble defect traces back to a known condition.
Preheat the mold before high-temperature forming. A cold tool chills the sheet on contact, and that sudden chill can lock bubbles in place before vacuum pulls them out. A warm mold keeps the sheet flowing into detail and helps eliminate bubbling problems. Check mold temperature at the start of each shift, and confirm it holds through the run. Pair that check with a stable, impurity-free sheet, and the heating step becomes repeatable instead of reactive.
Apply Vacuum, Pressure, and Cooling
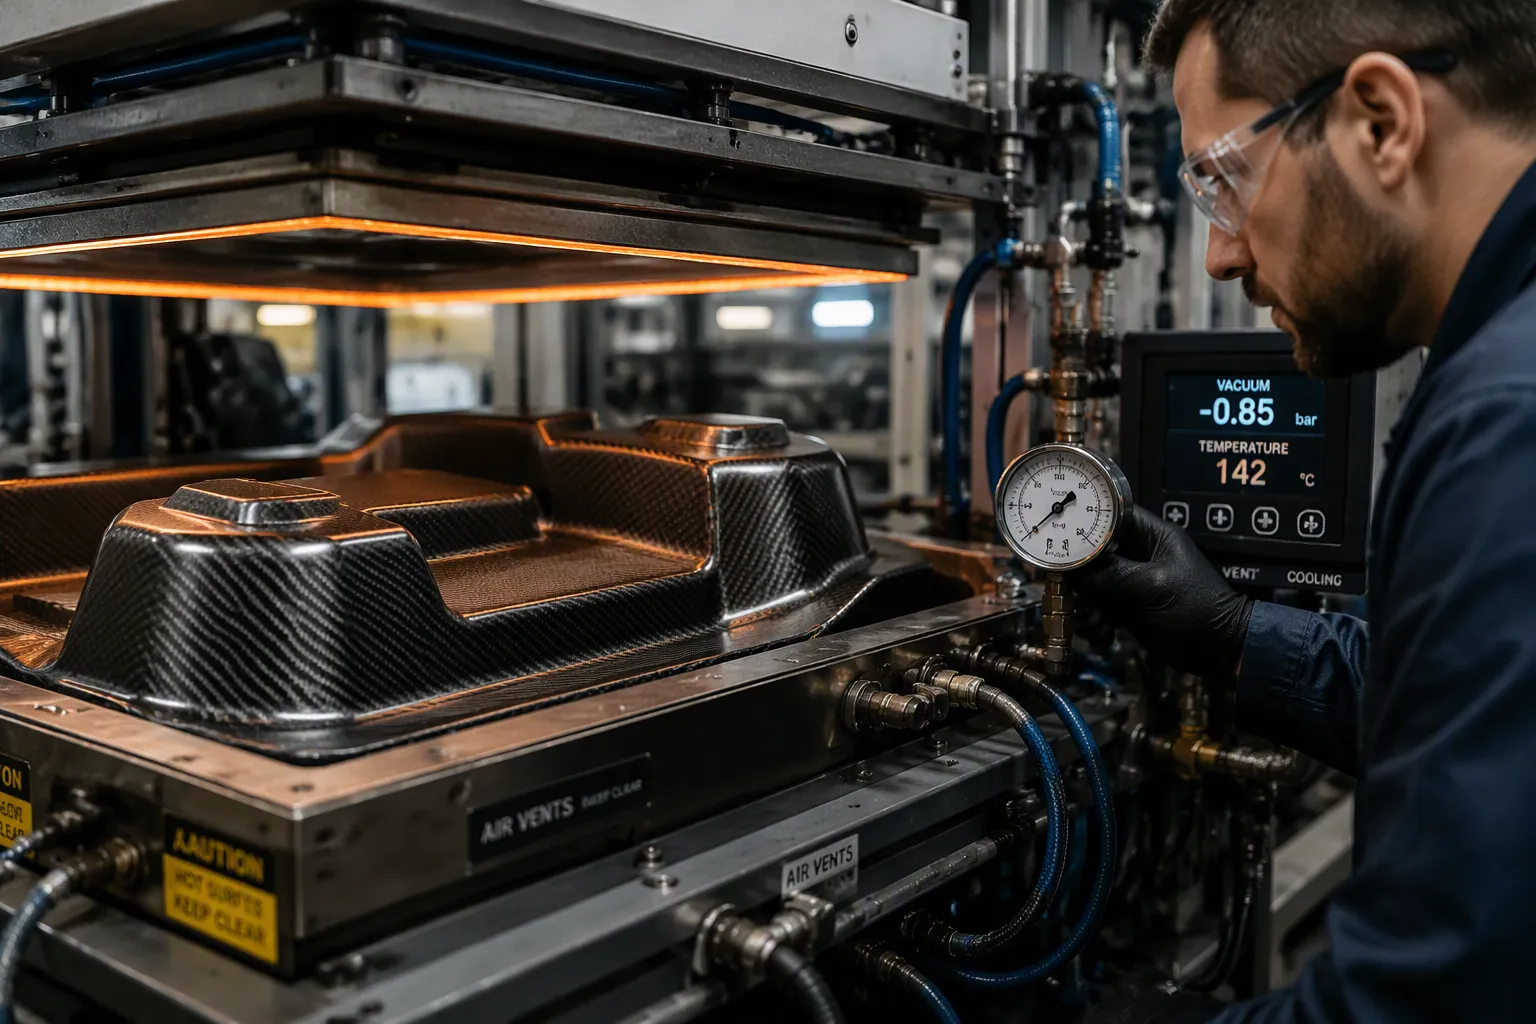
Billow forming is not a defect. In billow forming, you blow a bubble on purpose to stretch the sheet before it touches the mold. That bubble is controlled and temporary. Defect bubbling is trapped gas that stays in the part. Keep the two apart when you troubleshoot, and never mistake a planned pre-stretch for a moisture problem.
Vent Trapped Air Before Sealing
Air trapped between the sheet and the mold causes bubbles, distortion, and incomplete forming. Small, hidden air holes in the mold, about 0.02 in across, give that air a way out. Place them near problem areas rather than everywhere, because too many holes can weaken the mold or leave marks on the part.
Put vents at the last places to form: deep recesses, tight corners, rib ends, isolated lettering, and wide pockets where the sheet seals before air escapes.
Size vents to the sheet, surface needs, tool material, vacuum system, and cleaning method. Too large prints through; too small clogs. Treat rules of thumb as starting trial values.
Plan a full air path so surface holes connect to grooves, a plenum, or drilled passages with enough open area to reach the vacuum connection. Avoid blind cavities that trap chips, sealer, or condensate.
Remove burrs that could mark parts, and re-check flow after final surface treatment or coating, since sealer or debris can close a good hole.
Tooling condition matters as much as venting. Clean, smooth mold surfaces pass their finish straight to the part. Fine sanding removes tool marks, and a suitable coating protects the surface and releases the sheet cleanly. A uniform, impurity-free sheet draws down evenly across that prepared surface, so vacuum reaches the last-to-form areas without local stalls.
Cool Under Pressure to Lock Shape
Hold vacuum or pressure through cooling. Controlled cooling rate is a key parameter for detail reproduction, alongside temperature, pressure, and heating time. Precise timing and temperature control through the cycle prevent detail loss from material relaxation or shrinkage, and you gain better dimensional accuracy and surface fidelity.
Cooling now dominates production efficiency for large parts, because a large material volume must drop below the heat-deflection point. Water-cooled aluminum tooling conducts heat roughly ten times faster than steel, which shortens cooling times directly. Thick heavy-gauge sheets develop a temperature difference between surface and core, and that difference creates internal stresses that show up as warpage. Treat heating and cooling as one connected system, and keep material temperature uniform to hold accuracy across large spans.
Troubleshoot Bubbles That Remain
Read the Bubble Pattern
A bubble can show you where it came from if you look closely. Raised blisters all over the part usually mean moisture in the sheet or too much heater output. Bubbles grouped in one zone point to a hot spot or a vent that never opened. Read the pattern before you change any setting.
Defect | Visible Symptom | Primary Cause Group | First Corrective Action |
|---|---|---|---|
Blisters / Bubbles | Raised bubbles on the formed surface | Moisture in sheet, overheating | Pre-dry material, reduce heater output |
Moisture is the classic cause. Materials that soak up water, such as PET, ABS, and PC, take in humidity that turns to bubbles when the sheet heats. Dry the material to the supplier's recommended moisture level and check dryer performance before you change mold or machine settings. A moisture content at or below 0.02% stops blisters and bubbles. For PC, dry at 120°C for up to 4 hours to avoid bubbles and internal stress.
Fix Recurring Defects
Start with the material, not the machine. Many defects come from three common mistakes: the wrong plastic type for the job, a misjudged material thickness, and a flawed mold. Check moisture, gauge, batch consistency, and surface cleanliness first.
Verify the material — confirm moisture, gauge, batch, and surface condition.
Map the heating profile — measure actual sheet surface temperature and watch the sag pattern for overheating.
Test vacuum and pressure response — measure drawdown time, check for leaks, and confirm every vent is open.
Inspect the mold and cooling — check draft, surface finish, vent placement, and temperature uniformity.
Review cycle timing — compare heating, forming, and cooling times against the last known-good settings.
Change only one variable at a time when a new defect appears. A uniform, impurity-free composite plastic sheet makes this diagnosis faster, because heat spreads evenly and takes one suspect off the list.
Bubbling seldom comes from just one bad setting. It comes from a chain you can control: dry material, checked pre-drying, even zoned heating, good venting with vacuum or pressure, and controlled cooling. Most blisters can be prevented with moisture control and even heat, not guesswork.
Starting with a high-purity, evenly structured Composite Plastic Sheet removes a big variable. Xinhejiu ABS Sheet and PMMA/ABS (Acrylic ABS) Sheet heat evenly and dry in a predictable way, so the rest of your process settles down faster.
Check your drying and heating steps first. Check moisture, confirm dryer setpoints, and map your oven zones this week. Those two steps catch most bubbling before it starts.
FAQ
Why do bubbles appear only on some parts from the same batch?
Moisture and heat vary across a batch. One sheet may sit longer in humid air or absorb water through a broken seal. Oven zones also drift. Track moisture logs and zone temperatures per sheet, and the pattern will point to the cause.
Can I skip drying if the sheet feels dry to the touch?
No. Surface feel tells you nothing about absorbed moisture inside the sheet. Water hides in the core and turns to vapor during heating. Verify moisture with a meter or gravimetric test before forming, and dry to the supplier's recommended level.
How do I tell moisture bubbles from trapped-air bubbles?
Look at the location and shape. Moisture blisters spread across heated areas and appear as raised, rounded bumps. Trapped-air defects cluster near deep recesses, tight corners, or sealed pockets. Check venting first for clustered bubbles, and check drying first for scattered ones.
Does a glossy PMMA/ABS sheet bubble more easily than plain ABS?
Not when you control the process. A co-extruded PMMA/ABS sheet with a uniform structure heats evenly across both layers. Xinhejiu PMMA/ABS Sheet offers excellent melt fluidity for vacuum forming, so the sheet draws down smoothly and trapped gas escapes before it locks in.
What is the fastest fix when bubbles suddenly appear mid-run?
Stop and check the dryer first. Confirm setpoint, dew point, and cycle time against your log. Then probe oven zones for drift. Change one variable at a time, and run a trial part before restarting full production. Most sudden bubbles trace back to a drying or heating fault.