


5 Simple Tips to Stop Texture Distortion on Textured ABS Sheet
 Nov 09, 2026|
 View:3
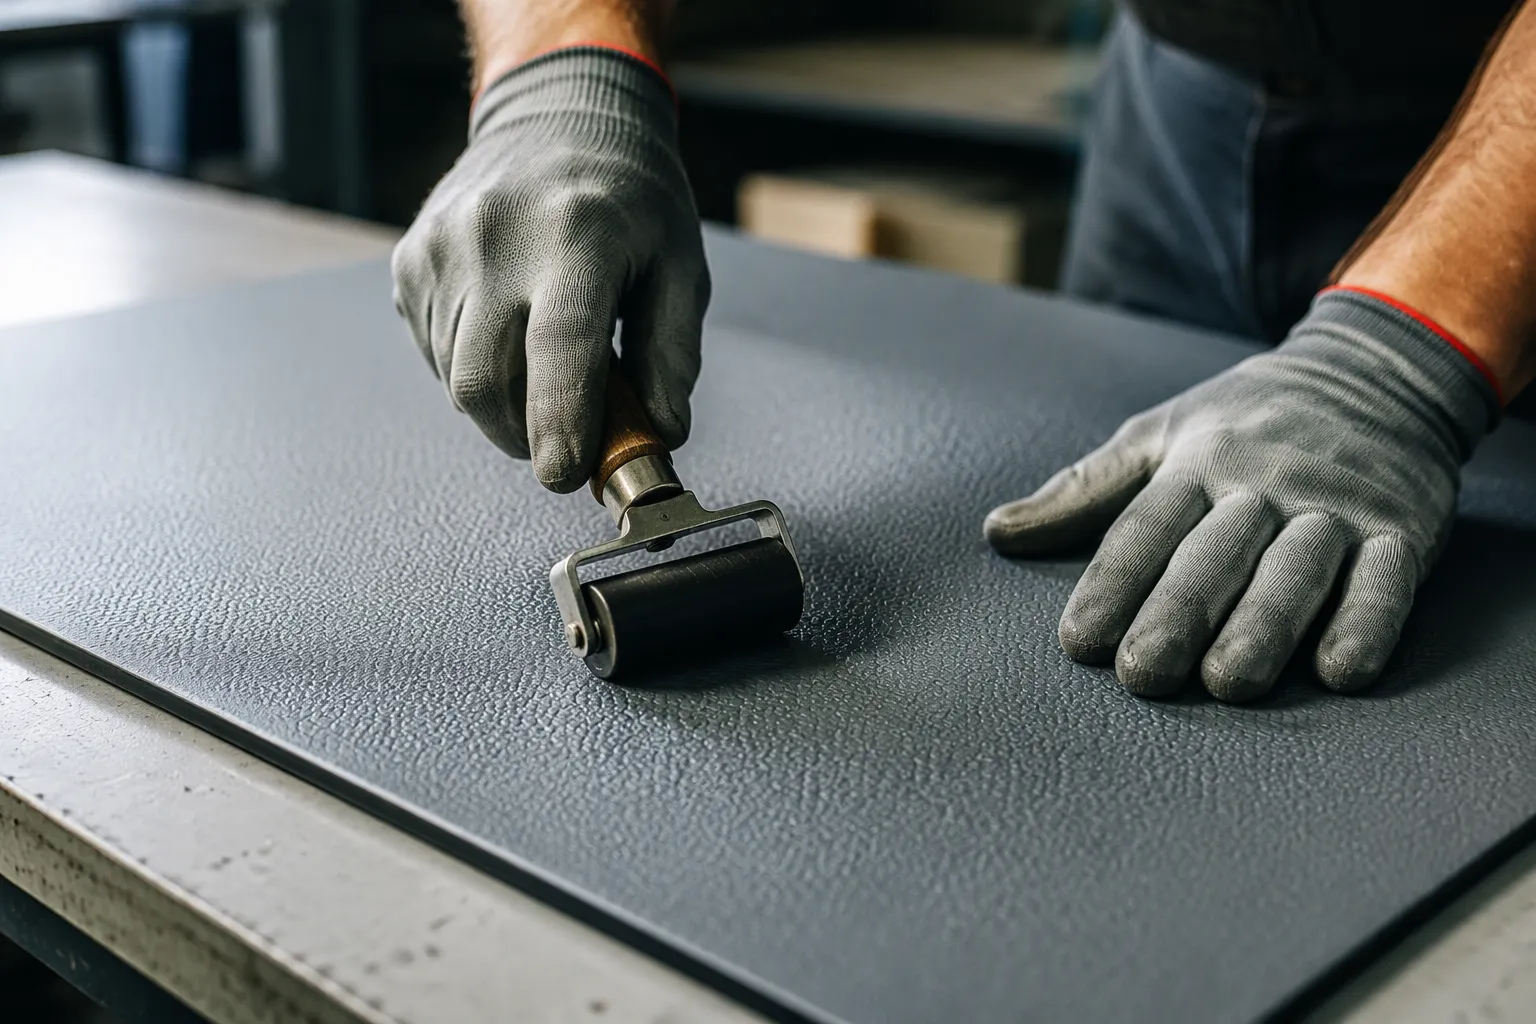
You bought faux-stone or pearlescent textured ABS sheet for its surface, and now you need 3D forming to preserve that surface exactly. Here is the good news: texture distortion is a process problem, not a material defect. You can prevent it.
Five tips do the work: even heating, billow pre-stretching, texture-friendly mold design, gradual vacuum, and controlled cooling. Distortion comes from two causes. You over-stretch hot textured ABS sheet, or you apply uneven vacuum and cooling. Each tip targets one cause. Follow all five, and your pattern stays crisp through forming.
Key Takeaways
Warm your textured ABS sheet evenly so the pattern stays sharp.
Stretch the sheet ahead of time with billow forming so the strain is spread out.
Make molds with rounded corners and the right draft so the texture stays protected.
Apply the vacuum slowly and evenly so the pattern does not wash out.
Let the part cool under vacuum before you take it out of the mold. This keeps the grain pattern locked in.
Tip 1: Heat Your Textured ABS Sheet Evenly
Why Heat Control Preserves Texture
ABS has a wide forming temperature window. The sheet stays stable as it heats, and it does not turn soft all at once. That stability gives you room to work, even on deeper or more complex forms. Aim for the middle of the optimal range for your sheet grade and thickness. Do not chase an absolute number. A sheet that heats slowly and evenly reaches forming temperature with its embossed pattern still intact.
Xinhejiu's ABS SHEET comes in textured finishes such as stone grain, wood grain, and haircell (lychee). Each pattern depends on a fine surface relief. Uniform heat keeps that relief crisp. Hot spots soften the pattern early, and cold spots resist forming. Either way, the grain loses definition before the sheet even touches the mold.
How to Set Your Heat Cycle
Start with even oven coverage. Check that the heaters cover the full sheet area, including the edges. Cold spots usually appear at corners and along the frame. Rotate or reposition the sheet if your oven runs hotter on one side. Watch the sag. A textured abs sheet that sags evenly across its width is ready. A sheet that sags in one area is not.
Overheating is the most common mistake. Push the sheet too hot, and the embossed pattern softens and flattens. Moisture is the second risk. Trapped moisture turns to steam and bubbles the surface during heating. Xinhejiu sheet has low water absorption, which helps here. Still, store sheets dry and pre-dry any stock that has sat in humid conditions.
Tip 2: Pre-Stretch with Billow Forming
Why Uniform Stretch Protects the Pattern
Billow forming pre-stretches the sheet evenly before it touches the mold. You clamp the hot sheet, seal the box, and let air pressure push the sheet upward into a bubble. The bubble stretches the whole sheet at once. Every area shares the strain. No single zone takes the full pull.
This matters for texture. Localized over-stretch thins the wall and blurs the grain. A textured abs sheet that stretches evenly keeps its pattern definition across the part. The bubble also gives you a head start on deep draws. The sheet already carries some stretch before the plug or mold contacts it. That extra material reduces the sharp thinning you get when a cold mold grabs a hot sheet.
How to Set Up a Billow Step
Set billow height by the draw depth. A shallow part needs a low bubble. A deep part needs a taller one. Watch the sag first. Wait until the sheet sags evenly, then start the billow. Time the billow so the bubble peaks just before the mold moves in. Hold the pressure steady during the bubble. A pressure that climbs slowly gives you a rounder, more even bubble.
Air pressure should rise gently. A hard blast creates a lopsided bubble. Center the air inlet over the sheet. Off-center flow pushes the bubble to one side and stretches that side more.
Three pitfalls cause most billow problems:
Over-billowing thins the sheet too much before forming even starts.
An off-center air inlet makes an uneven bubble shape.
Skipping the billow step on deep draws invites corner thinning and texture washout.
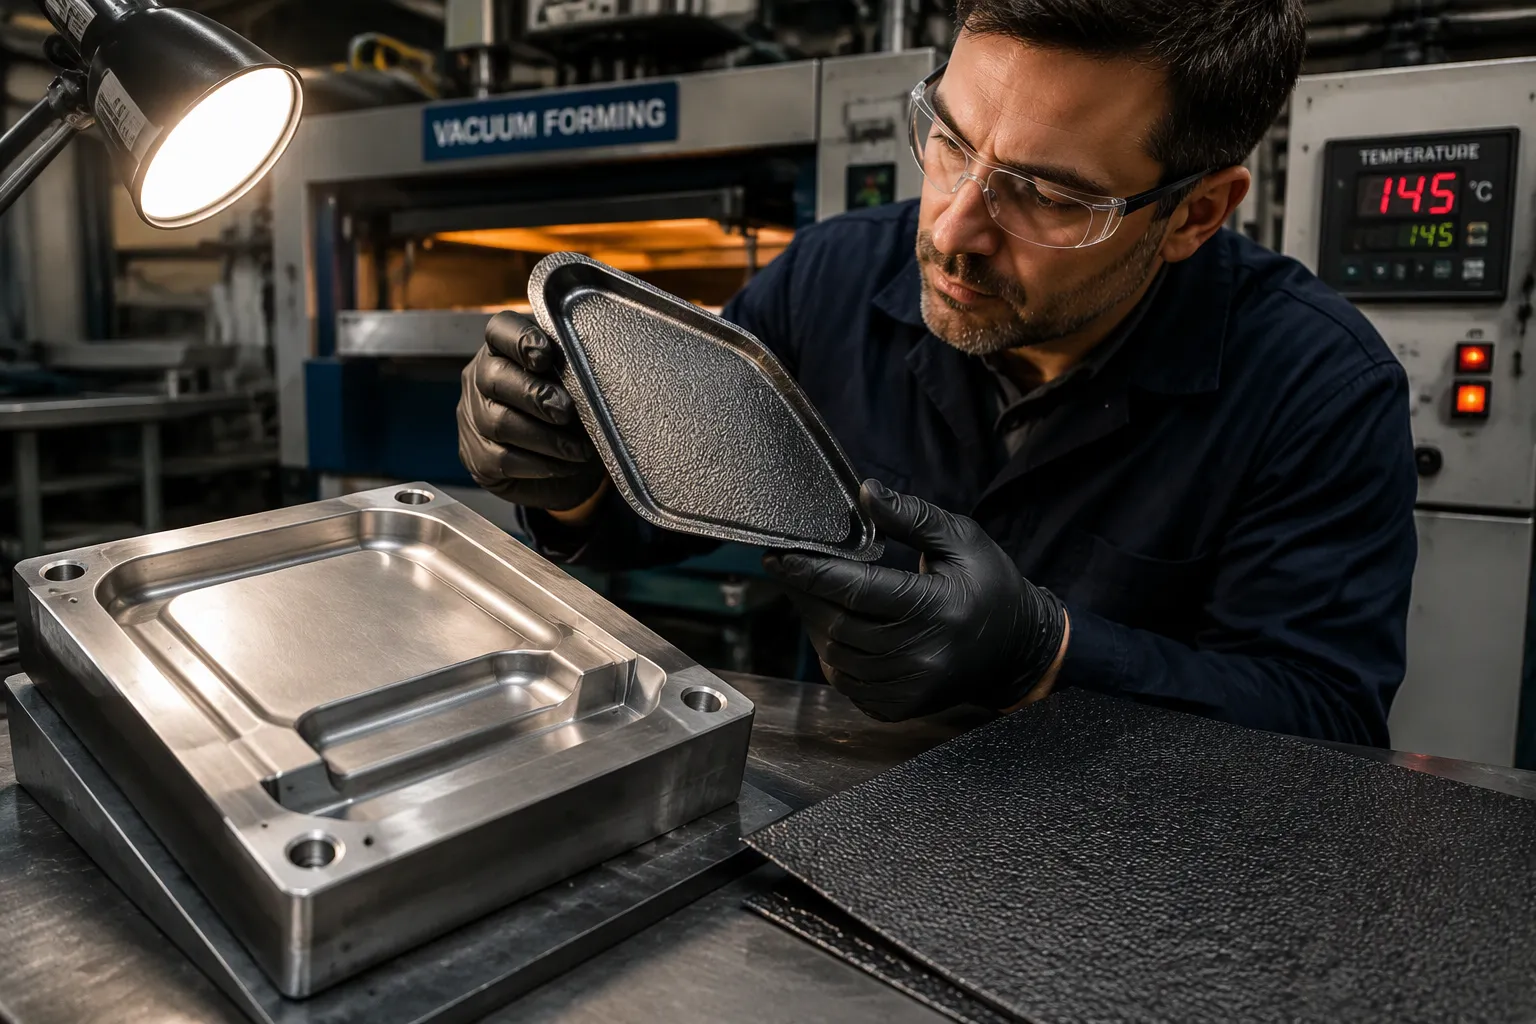
Tip 3: Design Texture-Friendly Molds with Xinhejiu ABS SHEET
Why Draft Angles and Radii Matter
Sharp corners fight the sheet. A tight radius forces the material to bend hard in one spot. That spot stretches more than the rest of the part. The grain thins, and the pattern fades. Rounded corners spread the stretch over a wider area. Texture clarity survives, and distortion drops.
Creases are the warning sign. You may see a crease run from a corner toward the center of the part. That crease marks where the sheet folded instead of stretching. Prevent it with generous radii and enough draft angle. Draft lets the sheet slide down the wall without dragging. A wall with too little draft grips the sheet, and the pattern smears as the material pulls free.
Mold temperature also matters. A slightly raised mold temperature helps fine textures and details stay clear on the ABS sheet during vacuum forming. A cold mold chills the sheet on contact. The pattern sets before it fully forms.
How to Specify Texture-Safe Tooling
Know where your texture comes from. Two sources exist, and each fits different work. Texture from the textured abs sheet itself is the simpler route. You buy the grain you want, and the mold only needs a clean, smooth surface. This suits faux-stone, wood grain, and pearlescent finishes. Texture copied from a textured mold surface suits projects where you want the grain only in selected areas, or where you need a pattern the sheet does not carry. Both routes work well. Pick the one that matches your design intent and your volume.
Xinhejiu's ABS SHEET supports this choice. It offers customizable textures and colors, including RAL and Pantone matching. The sheet is thermoforming friendly, so it holds detail through forming. That combination makes it a good fit for texture-critical tooling projects.
Tip 4: Apply Vacuum Gradually and Evenly
Why Sudden Vacuum Washes Out Texture
Full vacuum hits hard. The moment you open the valve, the pressure drop yanks the hot sheet into every corner at once. The sheet moves fast, and the material stretches where it meets the mold first. That local stretch thins the wall and washes out the pattern. Your textured abs sheet arrives at the mold surface with its grain already smeared.
Staged vacuum works differently. You bring the pressure down in steps. The sheet settles against the mold at a controlled pace. Each area of the pattern reaches the surface with its relief intact. The sheet also has time to wrap around radii instead of snapping over them.
How to Stage and Distribute Vacuum
Plan your vacuum zones before you cut the vents. Large parts need more than one zone. Group the zones by draw depth, and pull the deep zones first. Ramp the vacuum with a valve you can open in increments. Start with a light pull, let the sheet start to seat, then add more. Never slam the valve wide open.
Vent placement decides how evenly the air leaves. Space the vents across the full part area, and add extra vents at corners and deep pockets. Test the pull with a dry run. Watch where the sheet seats last. That area needs another vent.
Three pitfalls cause most vacuum problems:
Blocked vents stop the air from leaving and leave a soft spot in the part.
Uneven vacuum across a large part lets one side seat before the other.
Vacuum applied before the sheet reaches forming temperature locks in a stretched, blurry pattern.
Check the sheet temperature first. Then start the ramp.
Tip 5: Cool Under Vacuum Before Demolding
Why Premature Demolding Blurs the Grain
The texture sets as the sheet cools. Heat keeps the polymer chains mobile, and the embossed relief stays soft while the part is warm. Pull the part off the mold too early, and the pattern relaxes. The grain blurs, and the surface loses the crisp look you paid for. Faux-stone and pearlescent surfaces show this most. Their fine detail depends on a sharp relief, and a soft release flattens it.
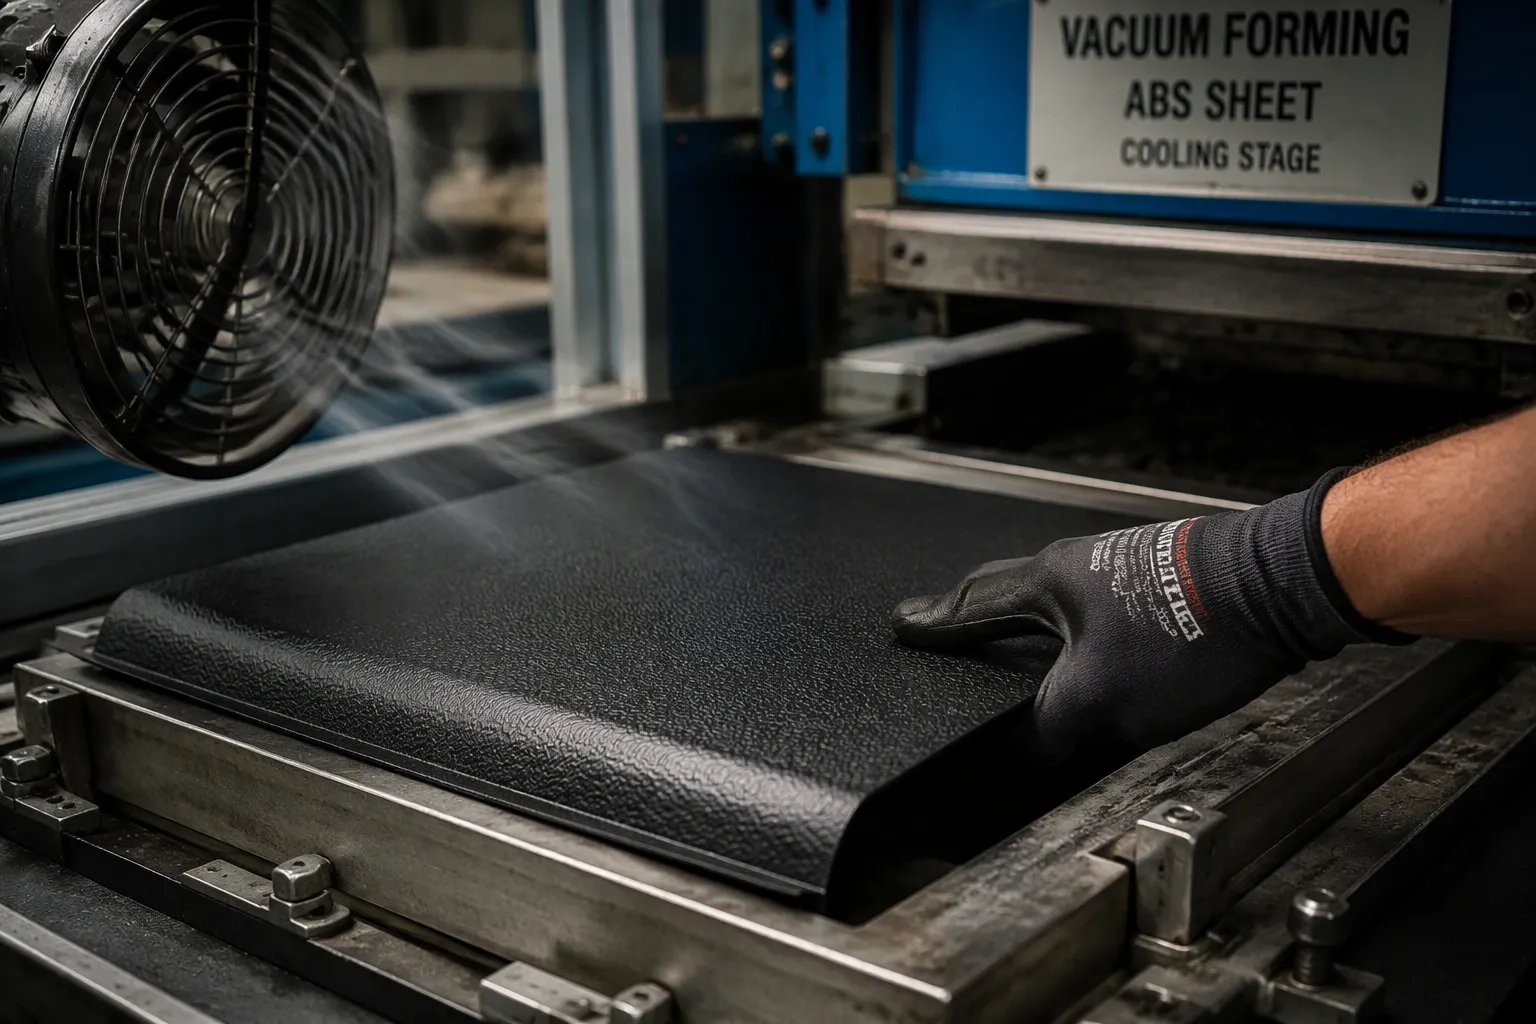
Cooling under vacuum holds the sheet tight against the mold while the pattern locks in. The vacuum keeps the surface pressed to the tool, so the grain cannot spring back. Keep the pull on until the part turns rigid. Then release.
How to Build a Controlled Cooling Step
Hold the vacuum through the whole cooling phase. Do not crack the valve the moment the sheet touches the mold. Use controlled air or fans to bring the temperature down at a steady rate. Aim the airflow across the part, not at one spot. A gentle, even draft cools the sheet without shocking it.
Check rigidity before you release. Press a corner with a gloved finger. A part that still flexes is not ready. A textured abs sheet that feels firm and cool has set its pattern. Xinhejiu's low-gloss matte composite ABS SHEET supports this routine. Its matte texture stays uniform even after deep-draw molding, so a controlled cooling step protects the finish you started with.
Watch for two common pitfalls:
Cooling too fast adds stress and warps the part.
Releasing vacuum while the part is still soft lets the grain relax and blur.
Slow, even cooling costs little time. It protects the surface your customer sees first.
You now have five levers, and each one removes a specific cause of distortion:
Even heating stops hot and cold spots from softening the grain on your textured abs sheet.
Billow pre-stretching shares the strain across the whole sheet.
Texture-friendly tooling spreads stretch around corners and radii.
Gradual vacuum lets the pattern seat without smearing.
Controlled cooling locks the relief before you demold.
Control all five, and faux-stone and pearlescent patterns survive 3D forming intact. Heat, stretch, tooling, vacuum, and cooling work as one system. These steps add little cost to your cycle. They protect the appearance your customers pay for.
FAQ
Can you fix texture distortion after the part is formed?
No. Once the sheet cools, the pattern has set. Reheating a finished part risks warping and further grain loss. Prevent distortion during forming instead. Even heat, billow pre-stretch, gradual vacuum, and controlled cooling protect the texture before it locks in.
How do you know the sheet is hot enough to form?
Watch the sag. A sheet that sags evenly across its full width has reached forming temperature. A sheet that sags in one area is still uneven. Check the edges too. Cold corners resist forming and blur the grain. Trust the sag over a fixed number on the controller.
Do you always need a billow step?
No. Shallow parts with gentle draws often form well without it. Add the billow step when the draw is deep or the geometry is complex. Those are the cases where localized over-stretch thins the wall and washes out the pattern. Match the step to the part.
Should the texture come from the sheet or the mold?
It depends on your design. Texture from the textured ABS sheet suits faux-stone, wood grain, and pearlescent finishes across the whole part. Texture from the mold suits patterns you want only in selected areas. Both routes work. Xinhejiu's ABS SHEET offers customizable textures and RAL/Pantone color matching for either approach.
Do these five steps slow down your cycle?
They add little time. Staged vacuum and controlled cooling take a few extra moments per part. That cost is small next to the value of a crisp surface. A blurred pattern means scrap or rework. Protecting the texture on the first pull saves more than the steps cost.